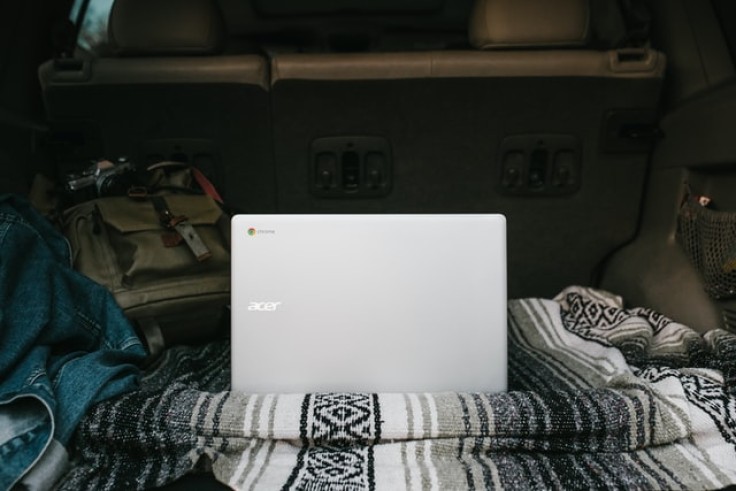
Chromebooks have enjoyed a rise to popularity from almost a decade ago. Acer Inc. and Samsung began shipping the very first Chromebook models on June 15, 2011. From then on, many other manufacturers started selling their own versions with varying specs and prices.
For those who are not into hardcore gaming and RAM-intensive productivity, having a lightweight device offers a practical solution. Let's say you just use a laptop for social media, watching movies, and the occasional video conferences. A laptop running on Google's Chrome OS is a good alternative than buying models that are quite an overkill for the tasks at hand.
Chrome OS is based on Google Chrome's browser. It was given a desktop-like interface to make the user experience more similar to popular full-blown operating systems like Windows and macOS. Despite this user interface, Chromebooks don't have moderate to high hardware requirements. There's no need for large storage space since most files are saved in the cloud.
Whether you have an old and sluggish laptop or a more recent one, giving new life to it as a Chromebook is an easy and fun experience.
Chromebook: Creating the installation media
Neverware's CloudReady OS is based on Chromium OS. It's the same open-source code Google used when building Chrome OS. We'll use CloudReady as our Chromebook's operating system.
First off, check if your device has these minimum requirements:
- 2GB RAM or higher
- 16GB or more for storage space
- Laptops made before 2007 may have a hard time with CloudReady OS
- Full BIOS access so you can select your flash drive as the primary boot device
Have an 8GB USB drive handy and a working PC, Mac, or Chromebook that's connected to the internet. Creating a bootable flash drive takes around 30 minutes or less. For PC, just download the USB Maker app and the installation image will be downloaded and created. For Macs, Chromebooks, and Linux PCs, you'll first need to get the Home Edition image (found on the same page), and follow the instructions on how to manually build the installer.
Installing Chrome OS or its equivalent
Depending on your laptop's make and model, it could be the delete, F2, or F12 keys that grants access to the BIOS. Once there, head over to the section that's associated with your computer's boot sequence. Set the bootable drive you just created as the primary boot device. Select save and restart (pressing the F10 key often provides that option).
Once your system restarts, it will boot from the flash drive you just inserted. Just let the boot process finish. Once you're inside the "live" OS environment, you'll have the option to either play first with the OS and its programs. If you've decided that it's the right operating system for your old ageing laptop, you can go right ahead and do a full install to your system. Just click on the bottom-right hand part of the screen (where the time is shown). There'll be an option to install CloudReady.
After the installation is done, your laptop will shut down. Remove the flash drive and turn your device on. You'll go through the initial set up process. After that, you can start using CloudReady OS, making your old laptop a revitalized Chromebook.


