Airbrushing is fun until your cordless airbrush begins to act up. You put it on, load in a proper paint, and the needle just begins to spit and sputter your paint everywhere.
Then you're like, 'OMG, What the Heck is this.'
On one side of your mind, you start to worry about the delivery you're going to get. And on the other hand, you also worry about paint wastage.
In the end, you just have to put the whole thing aside and start looking for quick fixes. Look no further; this post has all you need to know about airbrush spitting causes and quick fixes.
Possible causes of airbrush spitting
1. Compressor pressure is too low
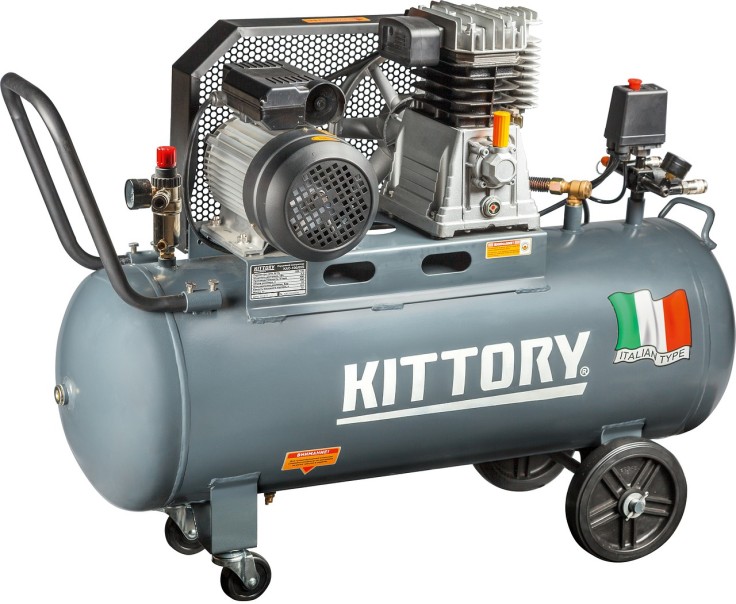
If the pressure exiting an airbrush compressor is too low, paint atomization becomes almost impossible to achieve. And without atomization, all you'll get is fine droplets rather than the fine mist of paint you need.
Quick fix:
The simple fix here is to just raise the air pressure exiting the compressor. The higher the pressure, the greater the paint atomization, and the better the paint flow pattern.
Don't know how to raise compressor pressure? Read your airbrush instruction manual.
2. Wrong paint thinning ratio
Whether you're airbrushing for tanning, tattooing, makeup, material painting, or what have you, you need to maintain a certain paint thinning ratio to ensure your paint doesn't get too thick.
With thick paints, atomization is almost impossible. And even if you manage to get a thick paint out under a huge compressor pressure, it may come out in splatters rather than in fine paste.
Quick fix:
When you discover you're working with paint that's too thick, your best bet to reduce spitting is to just raise the compressor pressure. However, doing this may sometimes not be enough to cut out spitting completely.
A better practice is to make the paint thinner and then work at the lowest pressure possible. This will guarantee the best results.
While working with a new paint brand, you may need to test out different thinning ratios, as well as air pressure to see which one delivers the best results before you commence work.
3. Not clearing the nozzle with a burst of air
After airbrushing for a while, it is normal for a small amount of paint to build up in the nozzle and needle area. Experienced artists know to clear these leftovers with a burst of air.
When you fail to remove paint leftovers immediately after use, it clogs in the nozzle and needle, interfering with the paint pattern the next time you want to airbrush.
How do you clear an airbrush nozzle with a burst of air? Simply press the trigger while the airbrush is empty to force out a burst of air along with any paint leftover.
Quick fix:
Deep cleaning
Remember how you deep clean your home every spring? Well, that's the sort of cleaning you want to give your airbrush when you notice it is spitting paint.
For starters, you should remove the needle, nozzle, hose, and tip of the airbrush from the whole setup completely. Afterward, let the nozzle and the front of the airbrush sit in thinners for hours. This should help remove leftover paints and debris that may be preventing proper paint flow patterns.
4. Paint drying
Many a time, certain paints dry up just before they reach the tip of the airbrush. This is most common with acrylic paints. If you're airbrushing with this type of paint, you might experience some weirdness in your paint pattern.
Quick fix:
Unfortunately, not all paints can be used in airbrushing. Some paints are just not meant for the purpose. If you notice spitting and sputtering with your airbrush, you should check whether the paint is designed for airbrushing purposes.
If you aren't sure, you should probably go back to a paint you've used before and trust. For beginners who haven't airbrushed with any paint of any sort before, you should ask around from folks who know better than you.
If you change paints and still have the spitting problem, it's clearly not a paint problem. So check out other possible causes and fixes.
5. Bad needle or nozzle
Clearly, when the needle or nozzle is damaged, the paint flow pattern becomes affected.
If you have spitting and spattering, you should check whether you've broken the tip of your airbrush needle or nozzle.
Quick fix:
Take a deep inspection of your needle and nozzle to determine whether there are splits, dents, bumps, or anything out of place.
If you can't see much with your naked eye, view the parts under a good magnification.
6. Impurities in the air hose
The Air hose is what carries air from the compressor into the airbrush. When impurities like moisture or debris trapped in the hose, it can result in an inconsistent paint flow pattern.
Quick fix:
The most common impurity that often gets into the air hose is water. And the best way to resolve this is by installing a water trap somewhere on the compressor or at the inlet of the airbrush.
7. Loose fittings
There are fittings almost everywhere on an airbrush, from the hose fittings to the compressor out, nozzle, and needle fittings to the airbrush tip.
If any of these fittings become loose, it can result in a drop in air pressure. And when this happens, inconsistent spray patterns follow.
Quick fix:
This is quite easy to fix; you just need to take a deep look at every joint and junction on the airbrush to see if any part is loose. You can start from the compressor outlet, look through the hose, then move down to the needle area.
If you can't see anything that's broken or loose, call upon a second eye to do the inspection for you. You never know; they just might find something you missed.


