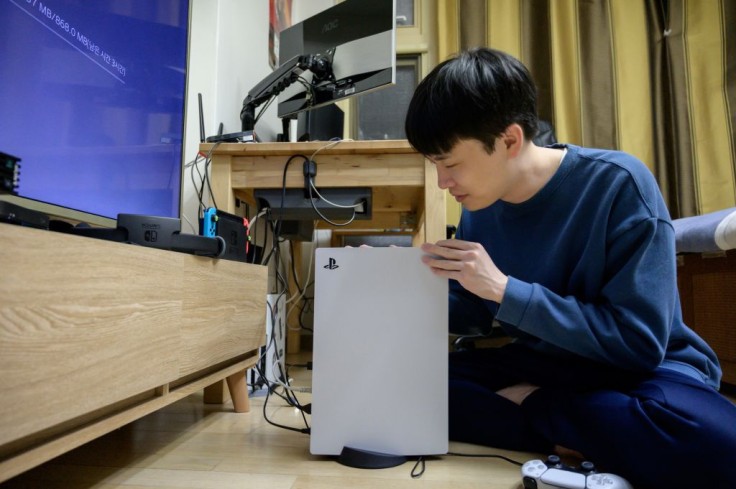
Players can add more storage capacity for games to the Sony Corp PlayStation 5 console via an expansion slot, which is quite simple to install.
With game file sizes increasing to take advantage of the new technologies available on the PS5, such as ray tracing, haptic feedback DualSense controllers, and 4K resolution, 825 GB of internal storage can only go you so far.
Here's how to expand the internal storage on your PS5, as recommended by Wired.
Choose a Compatible Sony HDD
The first step is to select a drive that is compatible. Not all M.2 SSD models will function with your PS5.
Users want to make sure they get the proper model because they aren't the cheapest PS5 external hard drive.
Also, make sure it's a PCIe Gen4 M.2 NVMe SSD with the appropriate interface and size.
Sizes 2230, 2242, 2260, 2280, and 22110 are supported by the PS5. The drive's entire dimensions, including the heatsink, should be no more than 25mm wide, 110mm long, and 11.25mm thick.
Updating the PlayStation 5
Second, make sure your PS5 has the most recent software installed before turning it off and unplugging it.
You can do this by going to Settings > System > System Software > System Software Update and Settings > Update System Software on your PlayStation 5.
A user is set to go if your PS5 reads "Up to date" on this screen. Unplug your console from the wall and turn it off.
Read also: PS5 Restock Date, Tracker: Where to Buy PlayStation 5 Next, How to Get Early Access in Amazon
PS 5: Grounding
Third, grounding comes from different static charges from your body to a metal item that is either touching the ground or connected to other metals that are touching the ground, preventing the static charge from being transferred to your SSD or PS5.
Before you start dismantling your PS5, there are two simple ways to ground yourself. The first is to use a wrist strap that acts as a grounding device.
Touching an unpainted metal-grounded object is the second method.
Remove The PS5 Cover
Fourth, the PlayStation logo should be facing down, and the power outlet should be on the right.
Place the left hand in the PS5's bottom left corner to secure it, then grab the top right corner with the users' right hand and gently lift up, away from the table and into the sky.
The two plugs that connect the PS5 to the cover in that corner should be released.
Then, carefully slide the cover toward you with your left hand at the bottom left corner until it's entirely removed.
Remove the PlayStation's SSD Screw
Fifth, remove the SSD Screw and the Expansion Slot Cover. After removing the lid, you'll notice a green region with five screw holes. You'll need one of these holes to secure your SSD to the PS5 depending on the size of the SSD.
Remove the SSD screw (110) from the very top slot and place it away, though keep it close at hand for now.
A silver spacer in the shape of a small silver ring may be found beneath the screw. This gap ensures that your SSD is correctly aligned with the circuit board.
Mount the SSD or HDD on PS 5
Then, to attach your SSD, align the connecting prongs on the SSD with the PS5's circuit board, which should already be facing the user.
Replace the PS 5 Cover and Power Up
Lastly, the PS5's cover should be replaced. In the top right corner, align those two prongs, then press and slide the cover back into place until you hear it click.
To start again, turn on the PS5 and format the SSD.
Related Article: PS4 Data Transfer to PS5: 3 Steps to Safely Move Your Files to PlayStation 5


