Using a DSLR can be intimidating. Most phones and cameras are point-and-shoot types that automatically adjust their settings to get the best possible photo.
However, if you want to capture a picture of a hummingbird with its wings frozen while drinking nectar from flowers, photograph a person without showing the background, you need to learn how to adjust those settings yourself.
As such, here are the three basic things you need to keep in mind to start your photography journey:
Shutter Speed

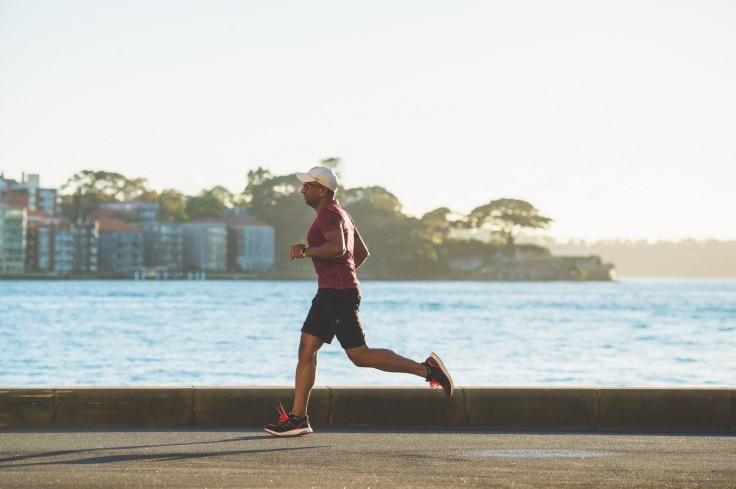
Were you ever curious how photographers manage to take pictures of sprinters in the Olympics without getting a blurry photo or how they make people appear to go fast even if they move slowly? The answer you're looking for is in the shutter speed they use.
According to Photography Life, a camera's shutter speed dictates the length of time its shutter is open to expose light to the camera sensor, with its opening being measured in fractions of a second.
Putting the shutter speed at 1/2 (half of a second) will produce a blurred image of a running person, giving you the sense that they are moving. However, a shutter speed set at 1/1000 (one-one thousandths of a second) will result in the photographer capturing the person while in motion without any blurring.
However, a slower shutter speed will make a picture brighter, while a faster shutter speed darkens it.
Aperture Size

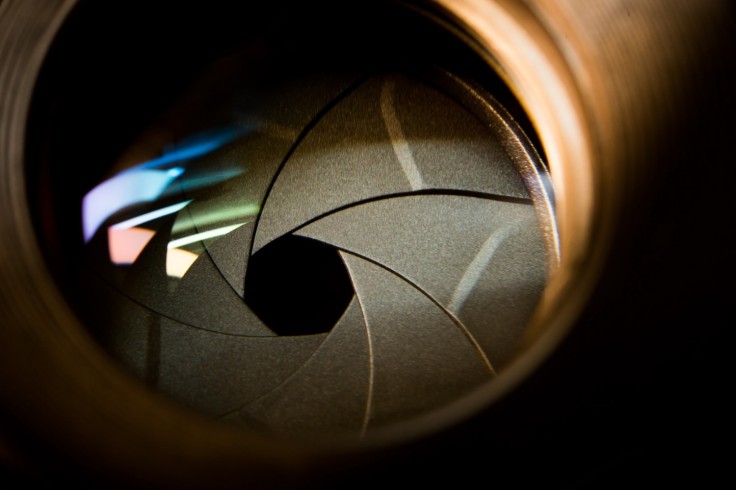
To fix the resulting picture's lighting with either a fast or slow shutter speed, you'll need to adjust the camera's lens aperture. Sony mentioned that the lens aperture is a diaphragm that is either in the lens itself or behind it. This diaphragm works like the pupil of an eye, regulating how much light passes through the camera's lens.
The aperture settings are commonly referred to as f-stops and have a specific numerical sequence. A low f-stop setting such as F5.6 provides a greater amount of light than an f-stop setting of F22, which provides little light to work with.

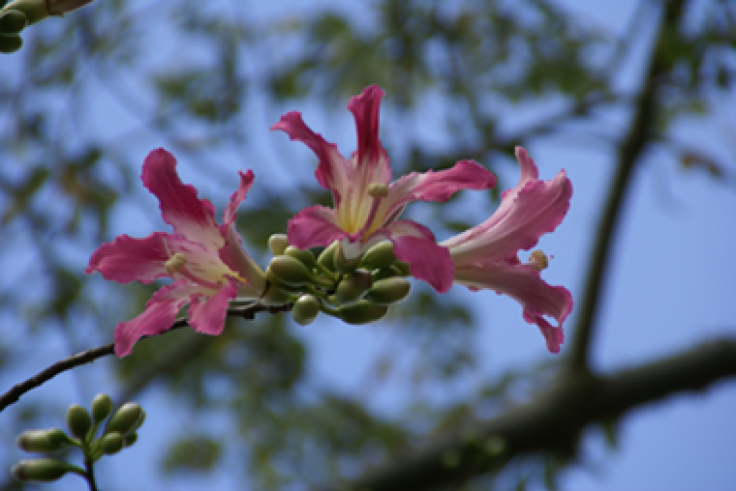
However, you may want to use a large f-stop setting if you're looking to focus more on your subject and blur out the background, emphasizing the subject's depth of field (DoF).
For those unaware, DoF is the distance between the nearest object (usually the subject) and the furthest in a scene that appears to be "acceptably sharp" in an image.
ISO Setting

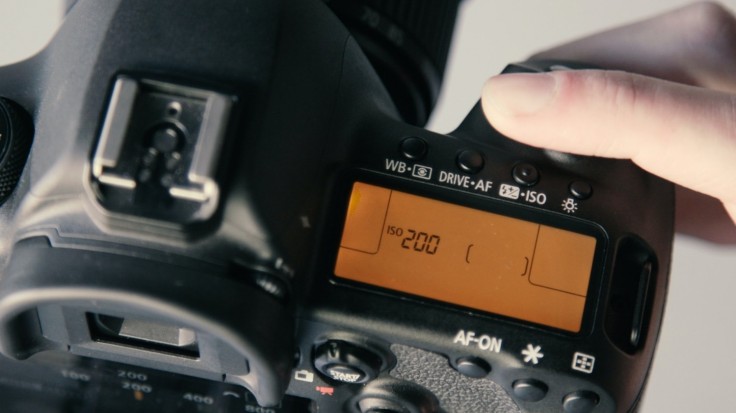
Finally, there is a camera's ISO (or film speed) setting. According to Cambridge In Colour, this setting determines how sensitive the camera is to incoming light. As a result, a high ISO setting like ISO 6400 may produce a bright photo, while a low ISO setting like ISO 100 produces a dark one if the shutter speed and aperture size remain constant.
This tool is helpful when you need to get a brighter image when both the aperture size and shutter speed prevent you from getting more light.
However, this brightness comes at a price. A higher ISO setting will make a picture "grainy" or "noisy" pictures, which affects the resulting picture's sharpness, per SLR Lounge. As such, using the least amount of ISO is ideal to get the best possible image.


