What you wear says a lot about you, but that will be more apparent once you wear something that you designed on your own. There are a lot of ways you can slap a design onto a shirt, and here are ways and equipment you will need to do that.
Heat Press Machine
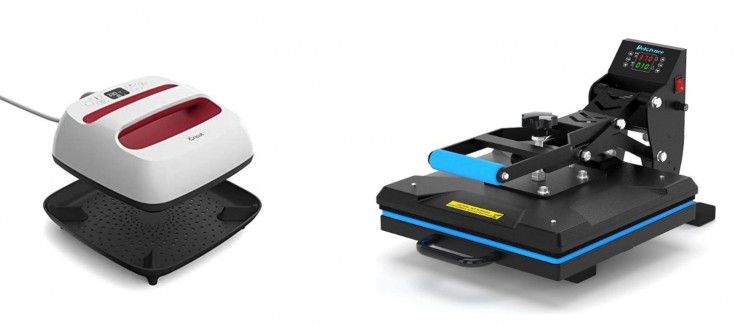
This isn't an either/or machine in most cases for shirt printing. More often than not, you'll be needing a heat press machine before you apply your design or need the heat press itself to transfer the design onto the shirt.
If you know that you'll be doing this more often down the line, then maybe you can buy one that's a bit pricey. If not, then don't worry. There are smaller heat press machines you can buy that do the same job, but you'll have to put in a little bit more effort.
As you can see in the photo above, the one on the right is a bigger piece of equipment with its own pressing mechanism, so you won't have to force the press down. Whereas on the left, you'll have to put pressure in order for the design to stick.
Vinyl Cutter
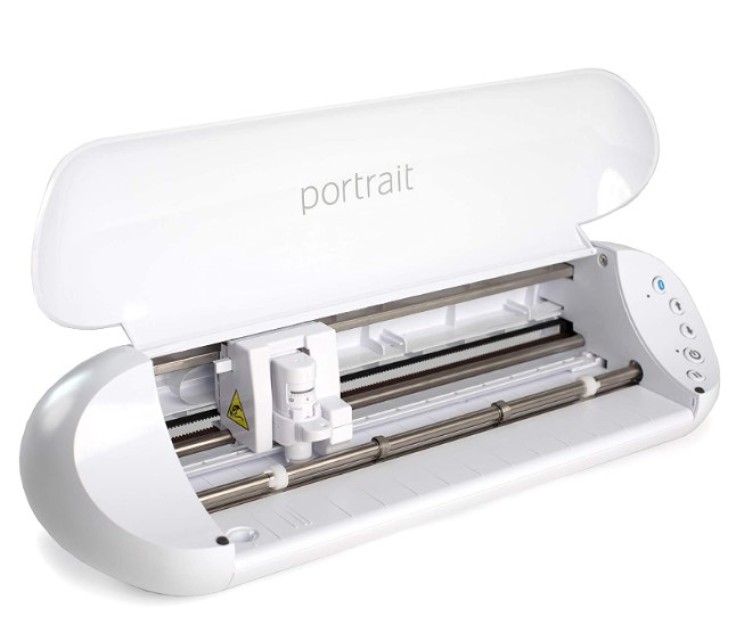
One method you can try out is by cutting detailed designs out of heat press vinyl using a cutting machine. There are different software you can use to trace your PNG designs and send the pattern to your cutting machine so it can get to work.
One of the downsides to this method is that your design has to be clean, which means no fading effects and no details too small for the machine to cut. You'll also need to weed out parts of the vinyl you don't want on your shirt which leaves you with your design, as mentioned in ColDesi.
You may also have a hard time aligning the pieces when you want a multicolored design. Other than that, all you have to do is place the shirt on your heat press machine, place your design, and press it down. Once it cools off, peel the clear film off.
Direct to Garment Printer
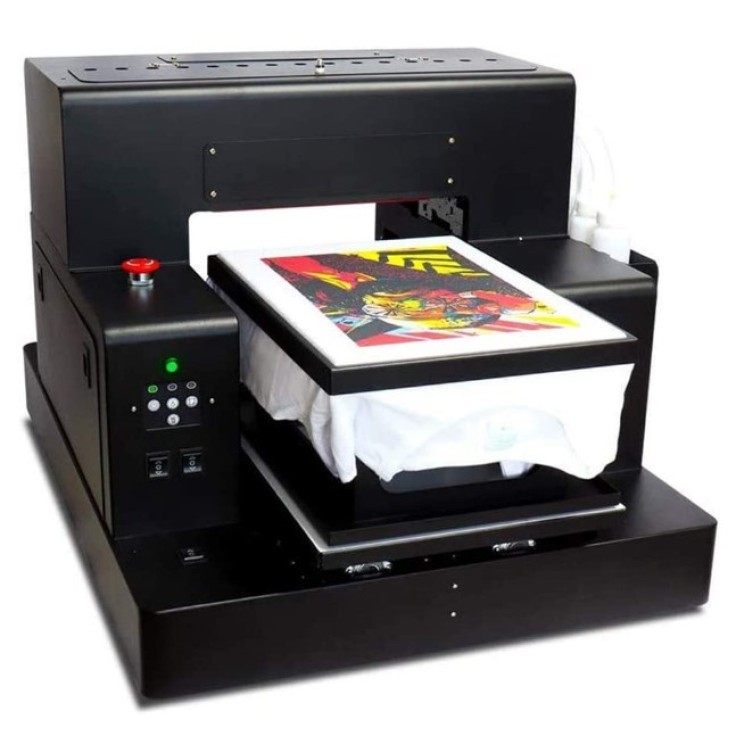
With the self-explanatory name, you can literally just print your design directly on your shirt. Your design is now part of the shirt so you won't have to worry about peeling or cracking designs. Of course, there are still limitations to this method.
Your shirt might not turn out great if you use synthetic fabrics. The DTG printer is also big enough that you'll need to make space for it. Before you can print on the shirt, you'll have to pretreat it so the design will stick. Plus, the machine is a bit expensive, so it's not ideal for one-time use.
Read Also : 5 Ideal Tattoo Machines For Beginners
Embroidery Machine
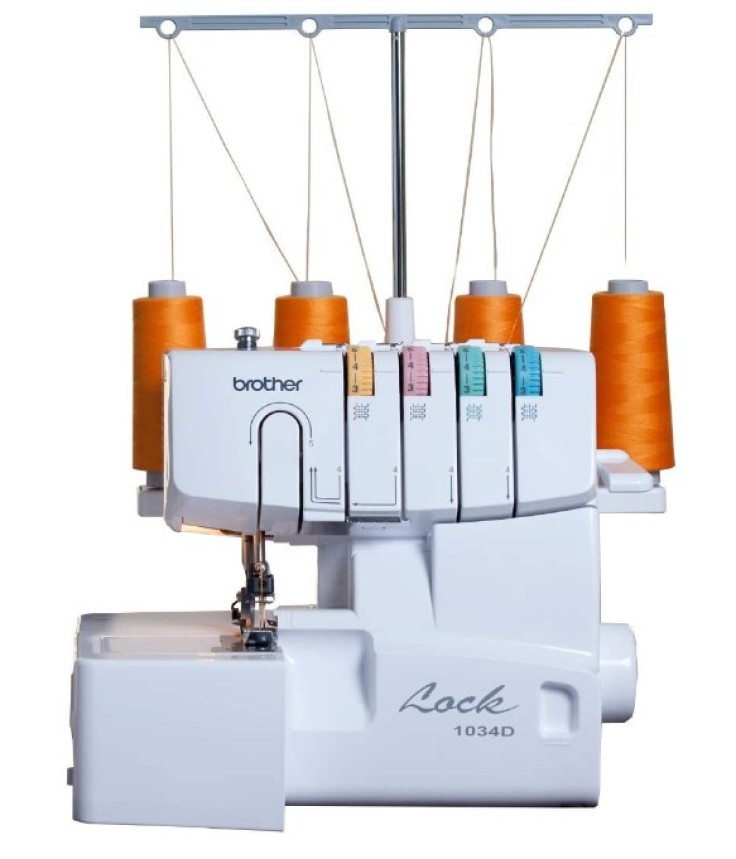
This method works best for smaller designs that aim for a minimalist look. The embroidery machine is not too big so it won't take up too much of your space. You can also make a lot without having to spend too much since threads are actually cheap.
The downside to this is that you're limited to smaller designs. You can make big ones, but they won't look nice and your shirt will have a huge and heavy patch. It's also slow even for a machine, so you might wait a while before you see your finished product.
Printer with Sublimation Ink
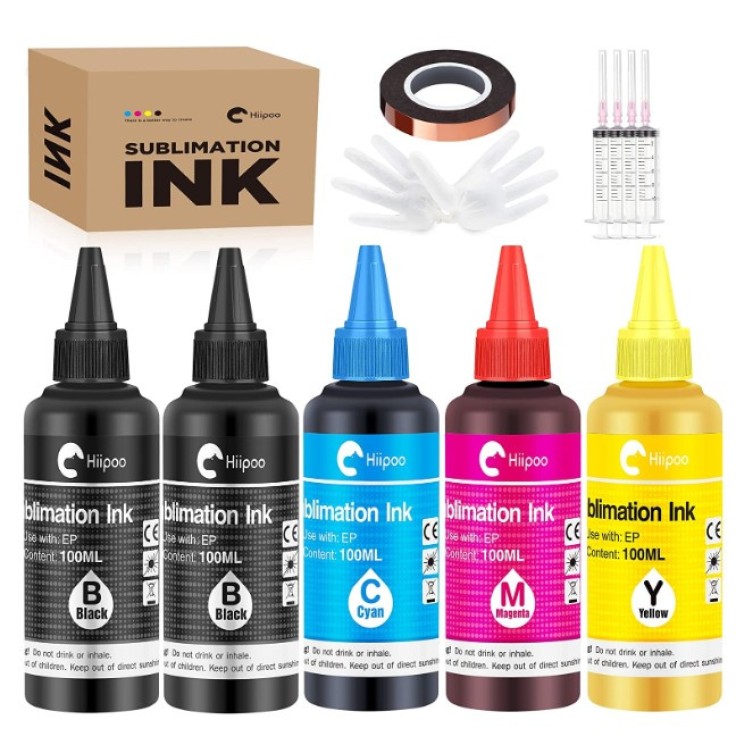
The best thing about dye sublimation is that you have more freedom about which designs you can put on your shirt. You can basically print anything and not be limited with the size (depending on the size your printer can do, of course).
There are also limitations to this method. First, you can't print on dark fabrics, since your design won't pop out if you do, as pointed out by HeatPressFun. Second, you'll need to use lighter fabrics polyester, or shirts with blends with more than 70% polyester.
If you are going to use a printer you already have, make sure that you clean out any other types of ink before you put in sublimation, or it will ruin both your print and the printer. After you print your design out, just lay it flat on your shirt and press it with the heat press machine.


